How to Practice Smokes in CS2: Your Complete Training Guide
Опубліковано у CS2
You just lost the round because your CT smoke landed three feet short of the angle you needed. That's the difference between blocking vision and giving the enemy team a free path to site. Learning proper smoke lineups isn't optional anymore-it's fundamental to playing CS2 at any competitive level.
The problem is that practicing smokes during actual matches wastes utility and costs rounds. You need a dedicated training environment where you can repeat throws until the muscle memory sticks. This guide covers everything from setting up your practice server to the specific console commands that make training efficient, plus proven methods for actually memorizing those lineups when it counts.
Setting Up Your Practice Server
Before you can start practicing, you need an environment where you can throw unlimited grenades without time pressure or enemy interference. CS2 offers two methods for setting this up, and each has specific advantages depending on how much control you need.
The quick method uses CS2's built-in practice mode. Open the game, click Play, then Practice, and select Casual. Turn on Infinite Ammo, Infinite Warmup, and Grenade Camera from the options menu. This gets you started immediately without touching the console, though it limits what you can customize.
For complete control, you'll need to use console commands. First, make sure your developer console is enabled by going to Settings > Game > Enable Developer Console and setting it to "Yes." You can open the console by pressing the tilde (~) key, which is located just left of the 1 key on most keyboards.
Once your console is active, load your chosen map by typing map de_mirage (or whichever map you want to practice). After the map loads, you'll need to enter several commands to create an optimal practice environment.
Essential Console Commands for Smoke Practice
The right console commands transform a standard map into a proper training environment. Each command serves a specific purpose, and understanding what they do helps you customize your practice sessions based on what you need to work on.
Start with these foundational commands:
sv_cheats 1 - Enables cheat commands, which are required for most practice features to work
bot_kick - Removes all bots from the server so they don't interfere with your practice
mp_warmup_end - Ends the warmup period immediately
mp_freezetime 0 - Removes the freeze time at the start of each round
mp_roundtime 60 - Extends round time to 60 minutes so you're not constantly restarting
mp_roundtime_defuse 60 - Same as above but specifically for defuse maps
mp_buytime 9999 - Allows you to buy items at any point during the round
These commands give you unlimited grenades and practice tools:
ammo_grenade_limit_total 5 - Lets you carry all grenade types simultaneously
sv_infinite_ammo 1 - Provides unlimited ammunition and grenades
sv_grenade_trajectory 1 - Shows the trajectory path of your grenades after you throw them
sv_grenade_trajectory_time 10 - Sets how long the trajectory lines remain visible (10 seconds is usually enough)
bind KEY "noclip" - Allows you to fly around the map to quickly reposition (replace KEY with your preferred button, like "n")
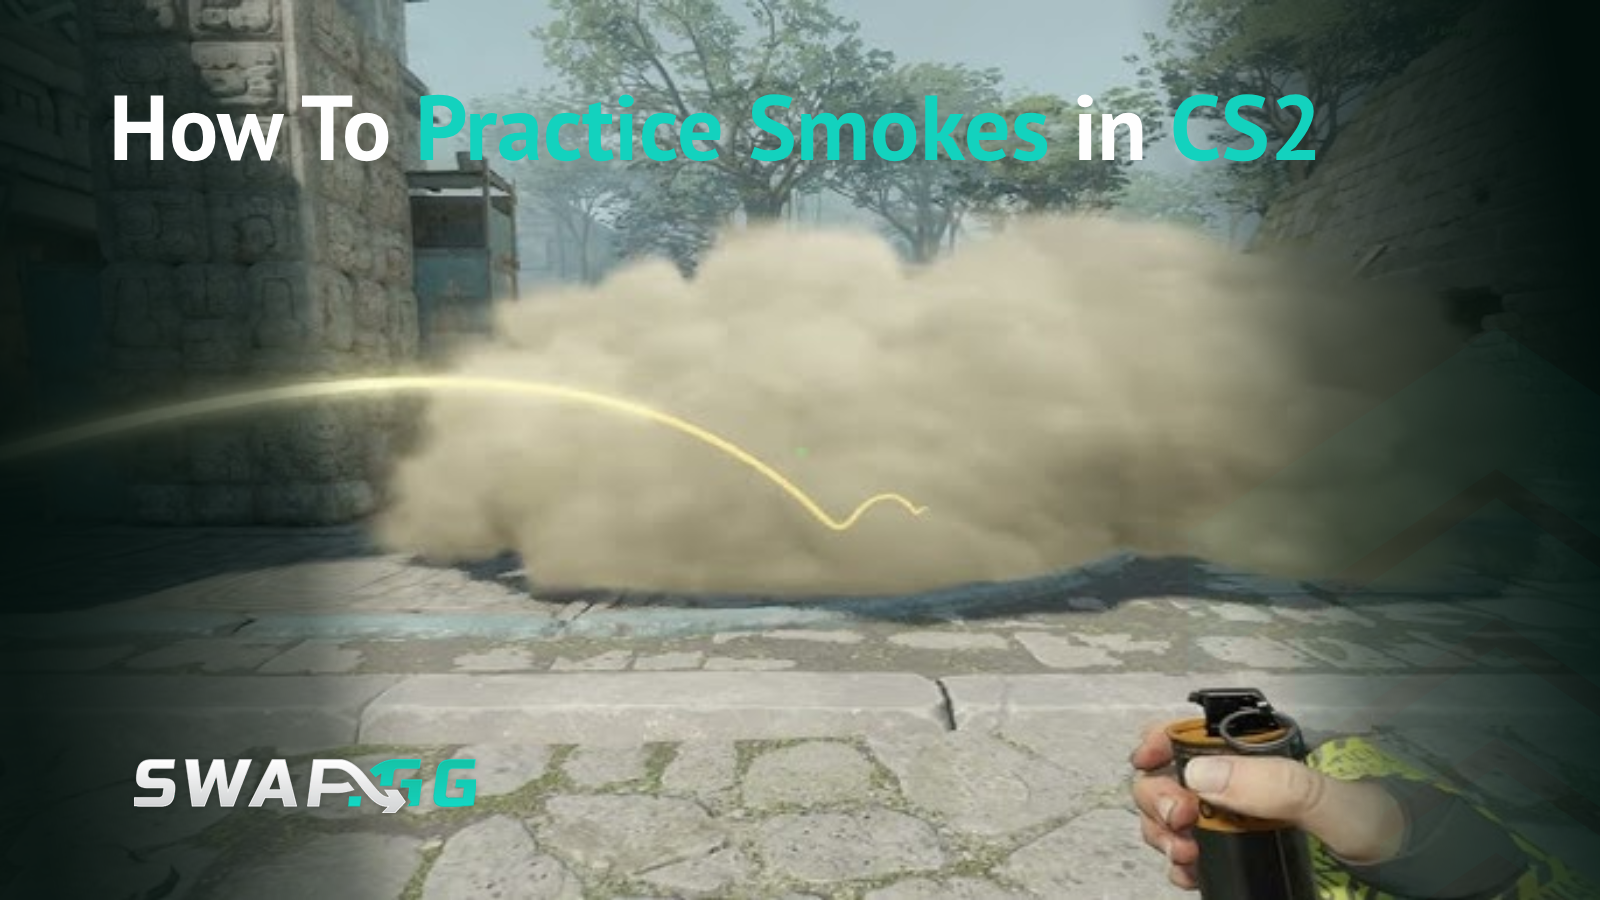
The grenade trajectory visualization is critical for understanding where your smokes land and why. When you throw a smoke with these commands active, you'll see the exact path it traveled, where it bounced, and its final landing position. This feedback loop is what lets you adjust your throws until they're precise.
Creating a Practice Config File
Typing these commands every time you want to practice gets old fast. Instead, create a config file that stores all the necessary commands to set up your CS2 smoke training server. This lets you load your entire practice setup with a single command.
Navigate to your CS2 installation folder. The typical path is C:\Program Files (x86)\Steam\steamapps\common\Counter-Strike Global Offensive\game\csgo\cfg. Create a new text file in this folder and name it something like practice.cfg.
Open the file with Notepad or any text editor and paste your practice commands inside. Save the file, then in CS2's console, type exec practice to load all commands at once. This approach saves significant time and ensures consistency across practice sessions.
You can create different config files for different types of practice. For example, one config for smoke practice, another for spray patterns, and a third for movement training.
Jumpthrow Binds: What You Need to Know
Jumpthrow binds have a complicated history in CS2. These binds let you execute a jump and grenade release simultaneously with one button press, which is essential for certain long-range smokes that require maximum throw distance.
In Counter-Strike: Global Offensive, performing jumpthrows was difficult, so people came up with a special jumpthrow bind that allowed combining a throw and a jump by using a console command once. However, Valve's approach changed with CS2.
The game now has a more forgiving input window for manual jumpthrows. With just a little practice, everyone can perform the trick, though a perfect jump throw is still rather challenging. Some players still prefer binds for absolute consistency.
If you want to set up a jumpthrow bind, you'll need to work around Valve's restrictions on automation. The most common method involves binding two separate keys, one for jump and one for releasing the grenade, then pressing them simultaneously. For example:
bind "mouse4" "+jump" bind "mouse5" "-attack"
When you're in position with your grenade held (left mouse button down), press both side mouse buttons at the same time, with slight priority to the jump button. This takes practice but becomes reliable with repetition.
Keep in mind that more complex single-key jumpthrow binds exist but may violate Valve's policies regarding automation. The two-key method is the safest approach for official servers.

Learning Your First Smoke Lineups
Raw mechanical ability to throw smokes means nothing without knowing where to throw them, which is why starting with fundamental smokes on popular maps makes more sense than jumping into advanced setups.
Mirage and Dust 2 are the best starting points because these maps have clear visual references and straightforward smokes that teach you the basics without overwhelming you with complexity. On Dust 2, begin with A-Long smoke from T spawn, which uses the tip of a palm tree leaf as a reference point, making it easy to remember. The Xbox smoke is another beginner-friendly throw where you align your crosshair with the end of an antenna and throw without any jump mechanics.
For Mirage, practice the Connector smoke and Jungle smoke first since these are essential for both T-side executes and CT retakes, and they use clear architectural features as reference points.
When learning a new lineup, stand in the exact position for the throw and pay attention to where your feet are relative to walls, corners, or other map features, because even small position changes affect where smokes land. From there, find your visual reference point, since this might be a specific architectural detail, a point where lines meet, or a distinctive map feature that's precise and easy to locate quickly. Line up your crosshair exactly as the lineup requires, knowing which part of your crosshair you're aligning since some throws use the center while others use the tip or edge. Finally, execute the throw using the correct method (standing throw, jump throw, or running throw) because different lineups require different techniques, and using the wrong one will cause the smoke to miss its target.
Practicing Effectively: Methods That Build Muscle Memory
Understanding a lineup intellectually is different from executing it under pressure. Your practice sessions need to build the muscle memory that carries over into real matches.
Start with static positions using clear reference points, then practice one specific lineup until muscle memory develops. Don't try to learn five different smokes in one session. Pick one smoke, throw it 20-30 times in a row, then move to the next.
Use the grenade trajectory visualization to identify why a smoke missed. Did you throw from the wrong position? Was your crosshair placement slightly off? Did you use a jump throw when you needed a standing throw? The visual feedback tells you exactly what went wrong.
After mastering static position throws, add movement-based throws after mastering static positions. Some smokes require you to run forward while throwing, which adds complexity but expands your strategic options.
Practice realistic scenarios by simulating actual game situations. After you nail a smoke lineup in isolation, practice it with the context of a real execute. Position yourself where you'd actually be standing during a match, throw the smoke, then imagine what your next move would be.
Record your practice sessions or take screenshots of successful lineups. When you discover a lineup that works perfectly, document it. Later, when you forget the exact details, you'll have a reference instead of trying to recreate it from memory.
Common Mistakes and How to Fix Them
Even players who understand the theory behind smoke practice make predictable errors that slow their improvement, and the most common issue is using the wrong position or landmarks when throwing smokes. A lineup might look similar to another, but if you're standing six inches too far forward, the smoke lands in a completely different spot, which is why you should always verify your exact position before assuming a lineup isn't working.
Beyond positioning, many players practice smokes too quickly by throwing one, seeing it roughly land in the right area, then moving on to the next lineup without building actual muscle memory. This rushed approach prevents the kind of repetition that makes lineups automatic under pressure, so slowing down and focusing on perfect execution, even if it means throwing the same smoke 30 times in a session, produces far better results.
Another overlooked mistake is failing to test smokes from both sides of the smoke itself. When you throw a CT smoke, walk to where the Ts would be pushing from and verify that it actually blocks the angles you intended, because sometimes a smoke looks good from one side but leaves gaps from the other perspective. Additionally, not practicing under realistic movement conditions causes lineups to fail in matches, since standing still in spawn with infinite time to line up a throw is nothing like executing that same lineup while moving from cover, checking corners, and listening for enemy positioning.
Adapting Smokes to Real Match Conditions
Learning how to quickly decide on smoke placements is critical, especially when standard positions are compromised by enemy actions or team strategies. The smokes you practice need to be flexible enough to adapt to changing situations.
Practice throwing smokes from slightly different positions. If you learn a smoke from one exact pixel, what happens when you're forced to throw it from three feet to the left? Understanding how position changes affect trajectory lets you adapt on the fly.
Learn smoke priorities for different scenarios. On a T-side execute, which smoke goes out first? Which smokes are critical versus nice-to-have? If you only have two smokes for a three-smoke execute, which one do you skip?
Coordinate with teammates during actual matches to understand timing. A perfectly placed smoke that goes out too early or too late fails just as badly as a smoke that misses entirely. Practice thinking about smoke timing relative to teammate positioning.
Map-Specific Practice Recommendations
Each map has critical smokes that you absolutely need to know. Rather than trying to learn every possible lineup, focus on the highest-value smokes first.
For Dust 2, prioritize A-Long smoke, Xbox smoke, CT spawn smoke, and B doors smoke. These cover the most common execute scenarios and defensive setups.
On Mirage, master Jungle, Connector, CT spawn, and Stairs smokes. Add Window smoke and Top Mid smoke once you're comfortable with the basics.
Inferno requires Coffins smoke, Hay Cart smoke, and Long smoke for A site, plus Banana smoke and CT smoke for B site control.
For Nuke, focus on Outside smokes for A site executes and Secret smoke for B site. This map has more vertical complexity, so expect a steeper learning curve.
Ancient and Vertigo have their own unique requirements based on the map geometry and common play patterns. Once you've mastered the fundamentals on Dust 2 and Mirage, these maps become easier to learn because you understand the principles behind effective smoke placement.
Advanced Practice Techniques
After you're comfortable with basic lineups, push your skills further with advanced practice methods.
Record successful throws to review and replicate later. This helps you analyze what made a particular lineup work and identify patterns in your successful throws versus your failures.
Practice fake executes using your smokes. Throw utility at one site while your team goes to the other. This psychological warfare requires the same precision as real executes but adds the dimension of deception.
Learn one-way smokes where you can see enemies but they can't see you clearly. These are situational but game-changing when used correctly. Be aware that Valve occasionally patches out specific one-way smokes, so verify they still work after updates.
Practice improvising smokes for unusual situations. What if you need to smoke off an unexpected angle because the enemy team is playing an off-meta setup? The ability to improvise comes from deep understanding of smoke mechanics, not just memorized lineups.
Tracking Your Progress
Monitor which smokes you can execute consistently and which ones still need work. Create a simple checklist for each map with your essential smokes and mark them as you achieve consistent accuracy.
After practice sessions, take those smokes into casual or deathmatch modes before using them in competitive matches. The stress of real opponents helps identify which lineups you actually have memorized versus which ones you can only hit in practice.
Pay attention to your success rate in competitive matches. If a smoke consistently fails under pressure, go back to practice mode and reinforce that specific lineup. Match performance is the ultimate test of whether your practice methods are working.
Putting It All Together
Learning smokes in CS2 requires dedicated practice time outside of competitive matches, where you can set up your practice server with the right console commands, learn lineups systematically starting with fundamentals, and build muscle memory through repetition. Start with Mirage or Dust 2, master five essential smokes on one map, then expand from there while using grenade trajectory visualization to understand why smokes miss. The difference between knowing a smoke and executing it under pressure comes down to practicing from realistic positions rather than standing still in spawn, because the goal isn't to memorize every possible lineup, it's to understand smoke mechanics well enough that you can execute the critical smokes consistently when your team needs them.
Опубліковано у CS2