Thera Map Guide: Callouts, Layout & Best Strategies

Diposting pada di CS2
Thera has been in CS2 since June 2024, pulled from the pool in November 2024, and made its way back into Competitive and Premier in April 2026 alongside the weapon balance patch. Enough time has passed that you really do need to know this map properly before queuing it, because the gap between a team that understands how mid control shapes every round and a team that is just winging it is enormous here. Thera punishes confusion harder than most maps, and once you understand why that is, the whole thing clicks into place.
What Makes Thera's Layout Different

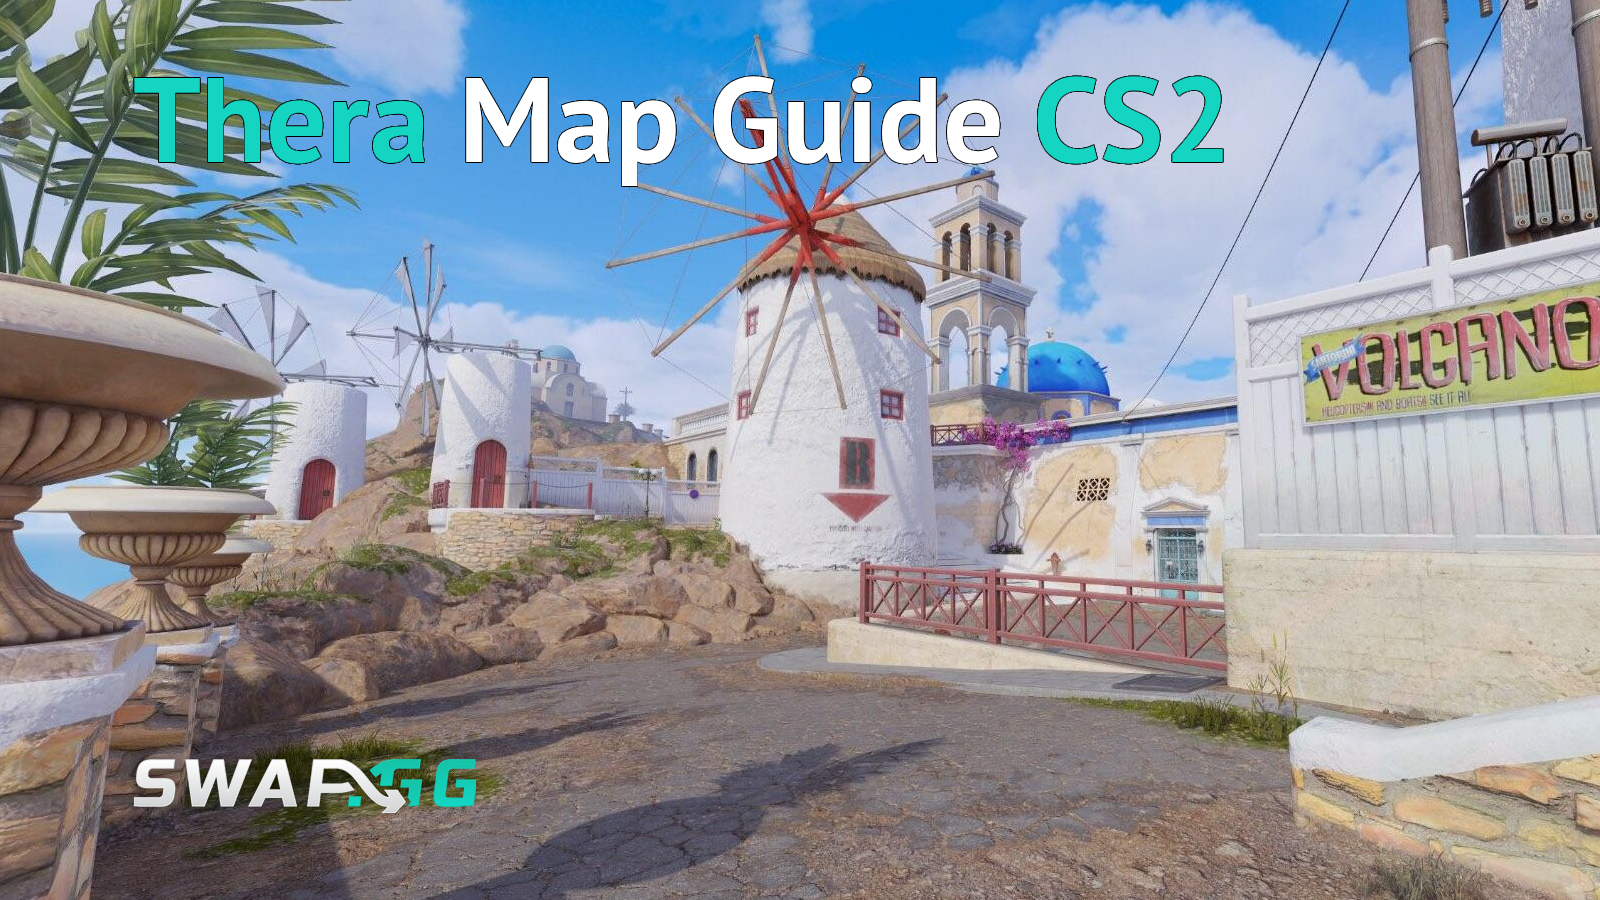
Thera was built by FMPONE, the creator of Cache, together with MF_Kitten. It is a reimagining of de_santorini from CS:GO's Operation Wildfire (2016), set in a Mediterranean cliff town inspired by the aesthetics of Santorini, Greece. The layout follows the classic three-lane structure: T spawn and CT spawn sit between the two bombsites, a central mid lane connects to both A and B, and the map is full of vertical movement through underpass routes, level changes, and elevated positions that run through both sites.
If you have played a lot of Mirage or Cache, the opening seconds of a round will feel immediately recognizable. Spawns in the middle, sites on the sides, mid as the first contested battleground. Where Thera separates itself is in the layering: upper and lower levels throughout, an underpass system running beneath the map similar to Overpass, and a B site that sits below ground level compared to the rest of the layout. The result is a map that reads simply on a minimap and gets complicated fast once you start peeling back those layers.
A site has five main entrances: one through CT Spawn and Window Room, one through mid under Window, two from Underpass (upper and lower), and one from the T-side of Mid. B site has two primary entry points into the plant area itself (Donut and Connector), with the Tower path offering a vertical approach and B Main connecting from mid.
Thera Callouts: Every Location You Need to Know
Spawns and the Central Area
T Spawn is on the south side of the map. From here you have immediate access to Secret (the underground tunnel toward B Stairs), Top Mid, Upper which leads through Double Doors toward A, and direct routes into Mid. It is one of the more flexible spawn positions in the current pool because you are genuinely not forced into a single path at the start of a round.
CT Spawn sits on the north side, opposite T Spawn, and gives CTs fast access to both sites and the Window position in mid. The short CT timing to Window is one of the defining features of the map.
Mid is the central zone and the single most important space on Thera. Everything that happens in the first 15 seconds of a round flows through or around it. Both B site entries and the upper A approach are significantly harder without mid control, so whichever team wins mid early tends to dictate where the round goes.
Top Mid is the elevated T-side entry point into mid, where the T-side AWPer typically sets up early. From Top Mid you can look down into the main mid area, contest Window, and read CT positioning before committing to a site.
Truck is the central landmark near Mid, used as a rotation reference and as cover during mid fights.
Mid Callouts
Window is the elevated CT-side position that looks across the center of the map. CTs reaching Window early in the round can throw deep utility into T-side mid and control what Ts can even attempt before they have established any presence. It is the single most influential early-round position on the map.
Long is the corridor running from T Spawn toward Mid, used by AWPers and lurkers when CTs push out. It is the natural sniper lane on Thera and a great information-gathering route before committing to a push.
Double Doors sits in the mid area and divides the map into two control zones. Pushing through from the T side means entering CT-controlled territory, so Double Doors is a critical reference point when calling out early pressure.
Upper is the path connecting T Spawn through Double Doors toward A site, giving Ts an approach to A without needing to commit through Long or through the main mid fight.
Trash is the area near Catwalk and the A rotations, used by CTs for quick mid access and by T-side players during rotations between sites. It is a minor callout but comes up regularly in rotation calls.
Wall sits near Trash and Window in the central part of the map, used as a listening and information post. There are no direct sight lines from here, but you can hear enemy movement without being exposed.
Arch is the large archway near T Spawn that Terrorists pass through when moving toward A site. There are grenade lineup positions near Arch for throwing utility toward Mid and A site.
B Site Callouts
B Site sits below ground level on the west side of the map. The lower elevation limits CT fire control from range and makes retaking harder than most sites in the current pool. Two main entries lead into the plant: Donut and Connector. B Main is the more open approach from mid, and Tower provides the vertical entry point.
Secret (also called Tunnel) is the underground passage from T Spawn leading directly to B Stairs. It bypasses mid entirely, which is the main reason T teams can execute B without needing mid control. Secret is the starting point for almost every serious B execute.
Stairs connects Secret to both the B plant area and to mid, giving Ts flexibility to adapt a mid push. Checking above Stairs when pushing through Secret matters because CTs can hold there from the elevated position.
Donut takes its name from the large circular pillar in the center of the area. The hole in the ceiling above it is a known utility position, and you can land smokes and flashes through it into Connector. Donut is the primary chokepoint for entering B from mid.
Connector links Mid to B site and is the rotation path going in both directions. CTs can hold partial fire control through Connector from the Cliff position nearby, which makes the B Connector entry the more dangerous of the two approaches unless Connector is smoked.
Tower is the elevated approach on the B site side, located at the southeast corner of B. T players can boost onto Chair from Tower, and it is the position that adds a vertical dimension to B takes, giving attackers an angle that forces the defending CT to split focus between Tower and the lower site.
B Main is the more open approach to B site connecting from mid, east of the plant. It requires crossing mid to access, so reaching B Main safely usually means smoking Window first.
Above B (also called Heaven by many players) is the elevated position overlooking the B plant. CTs playing here control Connector and Stairs sight lines and can hear bomb plants clearly, making it a strong passive anchor spot. For Ts post-plant, it is a useful position to hold an angle against retaking CTs coming from Connector.
Balcony is the small elevated spot near B with a wide view but limited cover. It is good for information but risky for extended holds, because the exposure makes it an easy target from more sheltered positions.
A Site Callouts
A Site sits on the east side of the map between the two spawns. It has more angles, more entries, and more clearing requirements than B, which is why A executes need more coordination to pull off cleanly.
Short is the T-side path toward A from the southwest, connecting into mid. It is a more open approach than the underground routes and one of the two main entry vectors for T-side A executes alongside Basement.
The basement (also called Underpass by some players) is the underground section beneath A site, running south of the plant area. From Basement, Ts can push directly up to the A plant or go through Ramp. It is cramped enough that utility usage before entering is important, because corners and hiding spots are numerous.
Ramp leads up from Basement directly to A site and provides a view of Platform. Moving up Ramp without clearing the sides and the angles above is how you pick up bullets from the Platform position, so Ramp pushes should always have someone managing the high angles.
Platform is the elevated position on A site that makes the site take significantly harder when a CT holds it. It overlooks multiple entry points and forces attackers to deal with it using molotovs or flashes before crossing into the plant area.
Catwalk connects into A site from Trash, Double Doors, and Upper. It gives a view of the plant area, but Platform, Bar, and Ramp are all blind from Catwalk alone, so clearing Catwalk does not mean the site is clear.
Bar (also called Piano because of the piano prop inside) is a position on A site with windows facing the bomb plant. CT players here can watch A without fully exposing themselves through the windows, making it one of the stronger passive holds on A. Players with any experience on the map will pre-aim Bar angles as a habit before crossing to the site.
Under is the cellar area accessible from near Upper, sitting beneath the A plant. Ts can reach the A plant directly from Under or continue into Ramp. It is full of camper-friendly corners, so clearing it before committing toward the plant matters.
CT Window is the position near CT Spawn looking across the central part of the map. It is strong for early-round information and for picking off Ts taking the fastest route to B, though experienced opponents will expect someone there.
Cliff is the CT-side position near Connector that allows shooting through into incoming T players approaching B from mid. It is the natural deterrent to early T mid-to-B pressure and part of why Connector smokes are so common on Thera.
Mid Control: Why Losing It Often Means Losing the Round
The community consensus on Thera is clear: mid control shapes rounds more directly here than on most other maps in the current pool. FMPONE himself acknowledged in workshop discussions that the CT timing to Window is very strong, to the point where a single CT with a molotov can effectively lock T-side mid before Ts have established anything. Because mid is the only reliable path to both upper A and to B Main, Ts who cannot contest Window are essentially funneled into the Secret B route or forced into a slow Basement A approach without the split.
The practical read for the T side is straightforward. If CTs are playing aggressively high through Window and mid, a direct A push through mid becomes extremely difficult, making Secret B or a slow Basement A the better options. If CTs are playing passive and low, pushing mid aggressively can force uncomfortable rotations and give Ts the flexibility to split either site. Reading CT positioning before committing is part of why Thera rewards teams that gather information over teams that execute the same plays every round.
A proper A execute from the T side is close to impossible without first addressing Window. The mid entrance to A becomes a death trap if the CT Window player is alive in mid, so every coordinated A take on Thera begins with a Window smoke as the first piece of utility thrown, before anything else moves.

CT Side Strategies
The standard CT setup is a 2-1-2 split: two players covering A (one at Window Room or holding the site area, one further into A), one player at Window in mid, and two players on B (one in the Connector or Cliff area, one at Above B or the site). The mid player carries the most decision-making responsibility in this setup. Rotating too early off Window gives Ts a free mid, and a free mid usually converts into a won round for the attacking team.
Aggressive mid play, pushing Window early and dropping utility deep into T-side mid at round start, is genuinely disruptive when it lands. It burns T utility, delays their mid control, and can pick off the T AWPer before they have even reached Top Mid. The risk is that over-committing mid leaves a site short, so the CT who pushes needs to read whether Ts are pre-committed to a specific route before going forward.
B site is manageable with one or two CTs when they play patiently around Above B and Connector. A CT with smokes for Stairs and Connector can hold a poorly organized B push without backup, because the narrow chokepoints work in the defender's favor. Once Ts control mid simultaneously, B becomes much harder to hold because the Connector is pressured from two directions at once.
T Side Strategies
B is the more approachable site for organized executes because it requires less mid control to set up. The standard B execute runs players through Secret to Stairs, uses smokes for Connector and Donut to isolate the Above B player, uses flashes to clear the first level of the site, and adds a Tower split with a player boosting onto Chair while the rest hit from mid through B Main. When the Above B player is smoked off and Connector is shut down with utility, B is a relatively clean take, and it is the site most teams default to when mid is contested or lost.
A site is the bigger payoff because it is harder to retake with the number of post-plant angles available, but it demands coordination that most pickup games do not have in early rounds. The split that works is sending two or three players through Connector toward Short while others push through Basement and Ramp, with smokes on Ramp and the CT Spawn area to block rotations, and molotovs pre-thrown into Bar and onto Platform before anyone crosses into the plant. Platform and Bar both need to be addressed with utility before crossing, because a CT surviving either position will get a free kill on the first player who peeks the site.
For lurk plays, Thera's level changes and the audio through the underground routes give a well-positioned lurker strong information on CT rotations before the execute fully commits. A T hanging back in Secret or Basement can hear CTs rotating toward A and call it immediately, letting the team redirect the push before they have given anything away.
FAQ
What are the main callouts on Thera? The confirmed callouts are: T Spawn, CT Spawn, Mid, Top Mid, Long, Window, Truck, Double Doors, Upper, Arch, Wall, Trash, Secret (Tunnel), Stairs, Donut, Connector, Cliff, Tower, B Main, Above B (Heaven), Balcony, Short, Basement (Underpass), Catwalk, Bar (Piano), Ramp, Platform, and Under.
Is Thera CT-sided? The map leans CT-favored. The Window timing advantage in mid gives CTs strong early-round control, and A site requires either mid control or heavy utility to execute properly. B is more approachable for Ts without mid, but the overall structure of the map rewards the defensive side in organized play.
Do you need mid control to take A site on Thera? For a clean A execute, yes. The mid entrance to A is too dangerous if a CT is alive at Window, so standard A executes begin with a Window smoke as the first action. Teams that try to run A without addressing Window are forcing their players through fewer entries against more angles.
What is Secret on Thera? Secret, also called Tunnel, is the underground passage from T Spawn that takes Ts directly to B Stairs while bypassing mid entirely. It is the main B approach route and the reason a coordinated B execute does not need mid control first.
When was Thera added to CS2? Thera was first added to CS2 on June 25, 2024, alongside Mills. It was removed on November 13, 2024, and returned to Competitive and Premier matchmaking in the April 2026 update.
Diposting pada di CS2