CS2 - How to create jumpthrow bind

Diposting pada di General

Unlike CSGO, where you precisely needed a jumpthrow bind to consistently hit smoke throws at the apex of your jump, Valve streamlined the process within CS2. In CS2, there is a generous window of time when you are near the apex of your jump if you have a primed grenade before the jump and release it near the apex of your jump, your agent will make a grunting noise that signifies you have successfully hit the consistent jumpthrow.
However, if you are used to using a jumpthrow bind and want to create a run jumpthrow bind, the following information can be used in the console to create them (source: CSLABEZ).
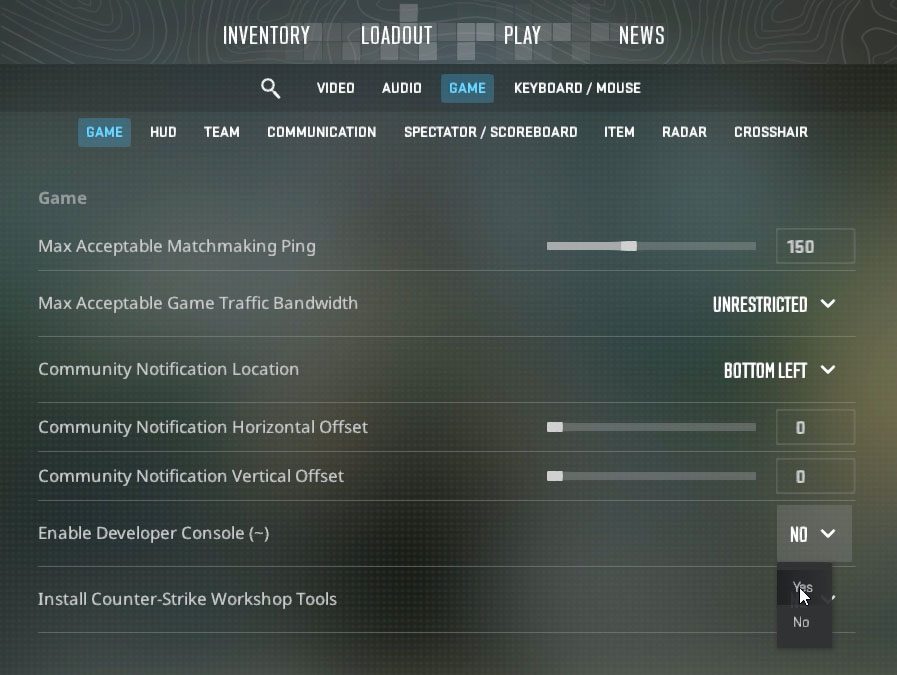
Step 1: Enable the Console
Within the settings section of CS2, go to "game" and then locate where it says "Enable Developer Console (~) and switch it from "no" to "yes".

Step 2: Create a jumpthrow bind in the Console
Enter the following into the console to create your jumpthrow bind.
alias "+jumpaction" "+jump;"
alias "+throwaction" "-attack; -attack2"
alias "-jumpaction" "-jump"
bind KEY "+jumpaction;+throwaction;"
Replace KEY with a key you want to use.
(Type each line and enter it into your console individually.)

Step 3: Create a run jumpthrow bind in the Console
Enter the following into the console to create your run jumpthrow bind.
alias “+runthrow” “+forward;+jump;”
alias “-runthrow” “-jump;-forward”
bind KEY “+runthrow;+throwaction”
Replace KEY with a key you want to use.
(Type each line and enter it into your console individually.)

Conclusion
When it comes to creating binds in CS2, ensure that you do not accidentally create a bind attached to a key that already has an action associated with it. If you found this quick guide helpful and it's helping you hit some INSANE smokes in CS2, let us know on our Twitter.
Diposting pada di General
![[THUMBNAIL] Is 7.1 Surround Good for CS2? The Reality Behind Virtual Audio](https://swap.gg/cdn-cgi/image/f=auto/https://blog.swap.gg/content/images/2025/12/Is-7.1-Surround-Good-for-CS2_.png)
![[THUMBNAIL] Is CS2 CPU or GPU-intensive? What Hardware Actually Matters](https://swap.gg/cdn-cgi/image/f=auto/https://blog.swap.gg/content/images/2025/12/Is-CS2-CPU-or-GPU-intensive_.png)
![[THUMBNAIL] What Is the Cheapest Knife in CS2? Your Complete Budget Guide](https://swap.gg/cdn-cgi/image/f=auto/https://blog.swap.gg/content/images/2025/12/cheapest-knives.png)